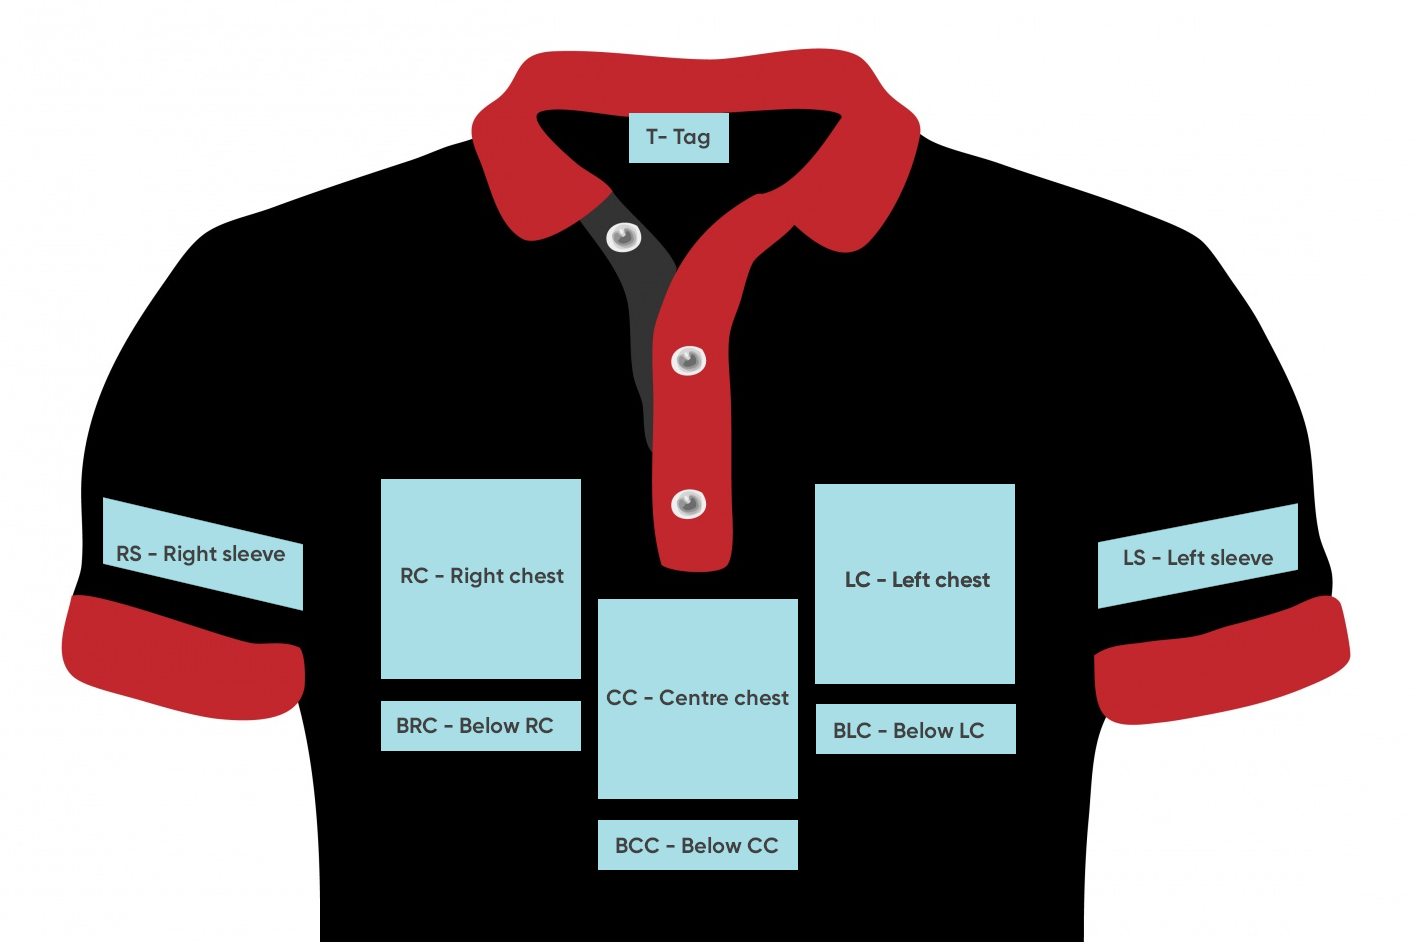
Customization options are used when you want to offer your customers a customized or personalized version of the product. An example is adding embroidery or screen-printing shirts.
Example
You can offer your customers embroidery on certain areas of a polo shirt.
You could add the following customization options to the master product.
Setting Up Customization Options
When you create a customization option, it can be added to any product.
- On the Stock menu, click Products. The Stock Card opens.
- Browse to the product to which you want to add customization options.
- Click the Customization Options tab.
- Click Set up. The customizations you create here can be added to any product.
- In the toolbar, click Add. A line is added to the list.
- Select the line, then complete the boxes underneath the list:
- Name – Customization name. Since customizations can be added to any product, consider including a product type in the name.
- Data type – select from:
- Date – date in the format dd/mm/yyyy, chosen from a date picker.
- Number – a number, for instance a shirt number.
- Text – Some text, such as a name.
- List – Create a list of items for your customer to choose from. This is often preferable to a text box, because your customer cannot tipe a speling errror. This can also be used to limit the options available, such as a list of typefaces you offer. You may choose to give a name to approved logo designs, such a Primary logo and Secondary logo. Generic names like this can be used by any customer. To create a list:
- From the Data type list, click List.
- Click the Edit list button which is now shown. The User Defined Fields window opens.
- In the toolbar, click Add. A row is added to the list.
- Click within the list and complete:
- Value – the category to display in the list
- Priority – the higher the priority, the higher it is displayed in the list on HorizonWeb
- In use – select to put the list category in use. When out of use it not displayed on HorizonWeb.
- Click Confirm and close the window.
- Priority – the higher the number, the higher the priority, so the higher the option will appear on the product detail page on HorizonWeb.
- In use – select to put the customization option in use. When an option is not in use, it will not be displayed on HorizonWeb.
- Click Confirm.
- Repeat steps 5-7 to add more options.
Adding a Customization Option to a Product
Note: Customization options can be added to several products at once from Stock Card > Browse > Add Customization.
- On the Stock Card, Browse to the product and click the Customization Options tab.
- Below the list, click an option you've configured.
- Click Add. The option is added to the grid.
- Click Confirm.


